Most printing delays start with the artwork file. A logo copied from a website, text too close to the edge or colours that looked different on screen can all hold up a job. The good news is that a few simple checks fix almost all of them. This guide explains each one without the jargon.
1. Use CMYK, not RGB
Screens create colour with light (red, green and blue). Printers create colour with ink (cyan, magenta, yellow and black). Some bright screen colours, especially vivid greens, blues and oranges, cannot be reproduced exactly with ink. Setting your file to CMYK from the start shows you a closer picture of the printed result.
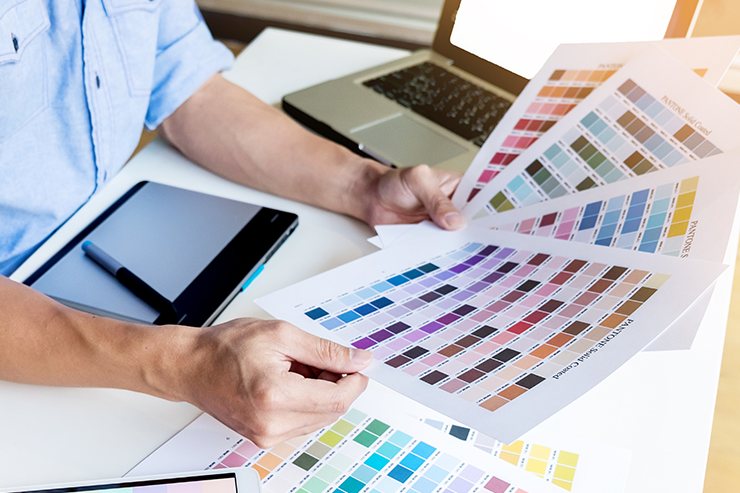
If your brand has an exact colour, give your printer the Pantone reference so it can be matched as closely as the print process allows.
2. Add bleed and keep a safe margin
Bleed is extra background that extends past the edge of the finished size. Printed sheets are trimmed in stacks, and the blade can move by a fraction of a millimetre. Bleed makes sure there is no white sliver at the edge.
- Add 3 mm bleed on every side for cards, flyers and brochures.
- Keep text and logos at least 3 to 5 mm inside the trim edge. This is the safe margin.
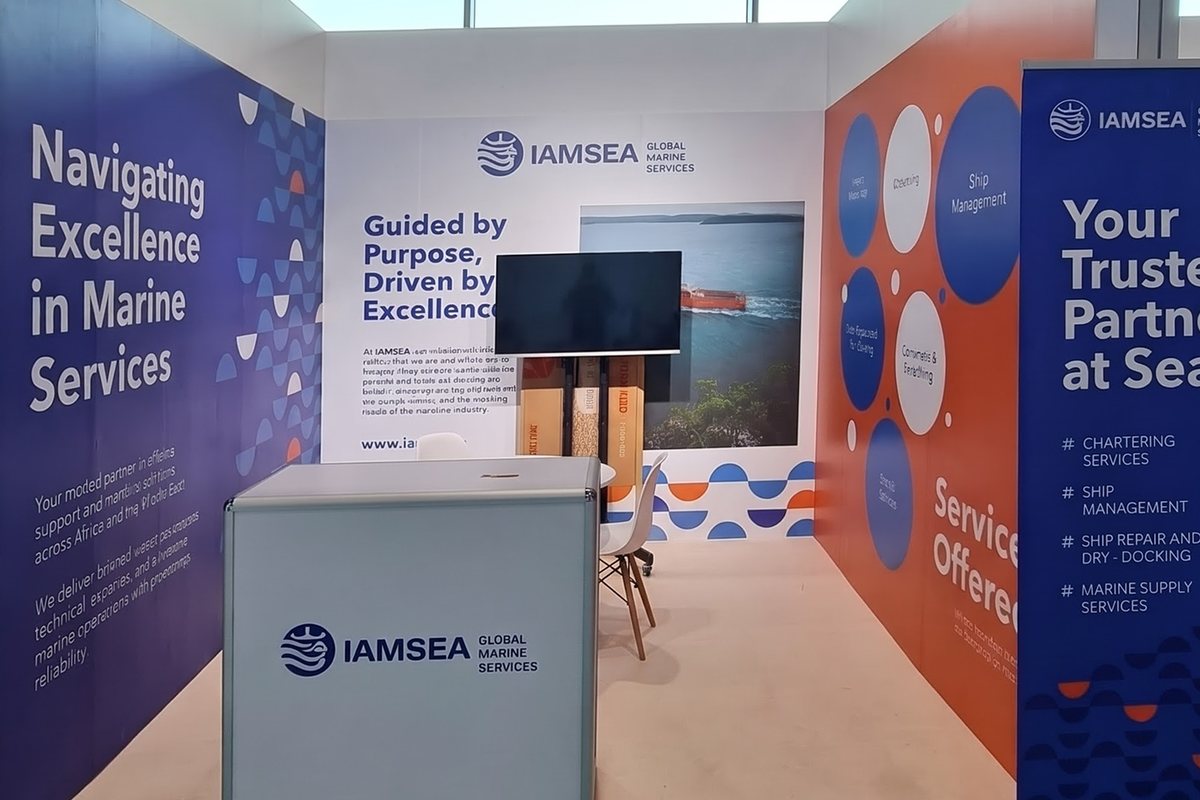
- For large items such as banners and backdrops, ask for the template, as bleed and pole or hem allowances differ.
3. Check image resolution
Resolution is how much detail an image holds at its printed size. An image that looks sharp on a phone can turn soft when it is enlarged.
| Product | Viewed from | Suggested resolution at final size |
|---|---|---|
| Business cards, flyers, brochures | Arm's length | 300 dpi |
| Posters | One to two metres | 150 to 300 dpi |
| Roll-up banners and backdrops | Several metres | 100 to 150 dpi |
Images saved from websites or messaging apps are usually compressed and too small for print. Use the original file from your designer or photographer.
4. Supply logos as vectors
A vector file (AI, EPS, SVG or a PDF saved from the design program) is made of shapes, not pixels, so it stays sharp at any size, from a pen to a building sign. A JPG or PNG logo is fine for a website but will blur when enlarged. If you only have a small image of your logo, it can be redrawn as a vector before printing.
5. Outline or embed your fonts
If the printer's computer does not have your font, the text may switch to a different one and the layout can shift. Convert text to outlines, or export a PDF with fonts embedded, to lock the design in place. Keep an editable copy for yourself.
6. Send the right file type
- PDF is the preferred format for almost all print jobs.
- AI or EPS files are useful for logos, signs and cut vinyl.
- Word, PowerPoint and Canva links can be used as a starting point, but they often need to be rebuilt for print.
The five-minute checklist before you send
- The file is at the final size, in CMYK
- There is 3 mm bleed and nothing important near the edge
- Images are sharp when you zoom to 100 percent
- Fonts are outlined or embedded
- Phone numbers, spelling and Arabic text have been read by a second person
No designer? No problem
If your file is not print-ready, send what you have. Our team can check it, point out any issues and prepare the artwork for business cards, brochures, flyers, large-format prints and more. You will receive a proof to approve before anything is printed. Start on our stationery printing in Abu Dhabi page.